Troubleshooting Common Hot Glue Gun Issues and Fixes.
Hot glue guns are an incredibly useful tool to have in your crafting and DIY arsenal. With the right techniques, you can use them to easily create beautiful projects or make repairs around the house. In this article, we’ll explain how to use a hot glue gun properly, whether you’re a novice or an experienced crafter.
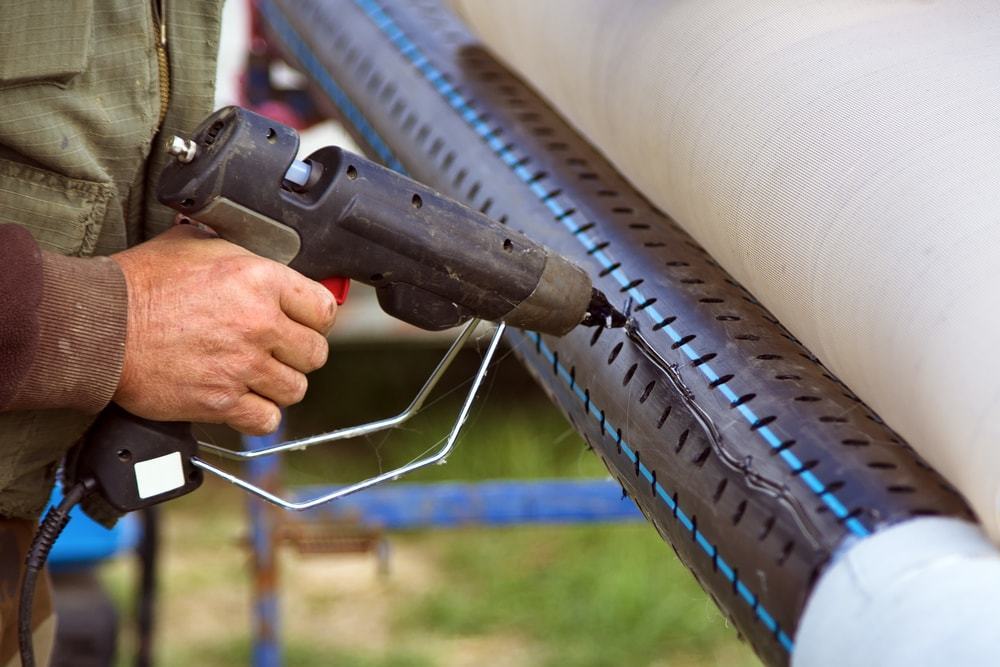
First, make sure you have the right type of glue gun and glue sticks. There are two main types of hot glue guns: low-temperature models that use glue sticks designed for fabric and craft projects, and high-temperature models that use hot melt or all-purpose glue sticks. Make sure you select the right type of gun and glue stick for your project.
Next, prepare the surface where you’ll be applying the hot glue. Make sure it’s free from dust and debris, as this can prevent the glue from adhering properly. If you’re working with fabric, test a small area to make sure that it won’t be damaged by the heat of the glue gun.Now it’s time to start gluing! Plug in your glue gun and wait for it to reach its operating temperature, which can take up to five minutes. Test the temperature by squeezing a small amount of glue onto a scrap piece of paper or cardboard. If it looks thin and runny, it’s not hot enough. If the glue is thick and starts to solidify, it’s ready to use.
Choose the Right Glue Gun for Your Project
The first step when using a hot glue gun is to choose the right one for your project. There are several different types of glue guns available, so it’s important to know which one is best suited for your needs. The two main types of glue guns are low-temperature and high-temperature models. Low-temperature models are ideal for delicate items like fabric and paper as they don’t get as hot as their high-temperature counterparts. High-temperature models, on the other hand, are perfect for heavier materials like wood or plastic because they get hotter and provide a stronger bond.
Safety First!
Before using your hot glue gun, make sure you read all the safety instructions that come with it. These instructions will advise you on things like proper ventilation and what kind of surfaces it can be used on safely. Also make sure that you wear gloves while handling the gun – this will protect your hands from any potential burns or injuries caused by contact with the hot metal parts of the gun itself. Finally, keep small children away from the area while you’re working – even if they aren’t directly involved in crafting with you, they still might be tempted to touch something they shouldn’t!
Load up Your Glue Stick
Once you have chosen the right type of glue gun and read all the safety instructions, it’s time to load up a glue stick into it. To do this, simply remove the back cover off of your glue gun, insert one end of a new glue stick into its slot at the top, then push down until it clicks into place. Make sure that both ends of your glue stick are firmly inserted before continuing with any other steps – if not loaded correctly it can cause major problems down the line! Once that is done each time before use , plug in your gun to an appropriate power source (if applicable) and wait for about 5 minutes for it to heat up properly before starting work .
With these simple steps in mind , now you’re ready to start using your hot glue gun for whatever project comes up ! Whether its creating something beautiful or fixing something broken , having a hot glue gun handy makes crafting easier than ever . Now go forth and get gluing ! Have fun !